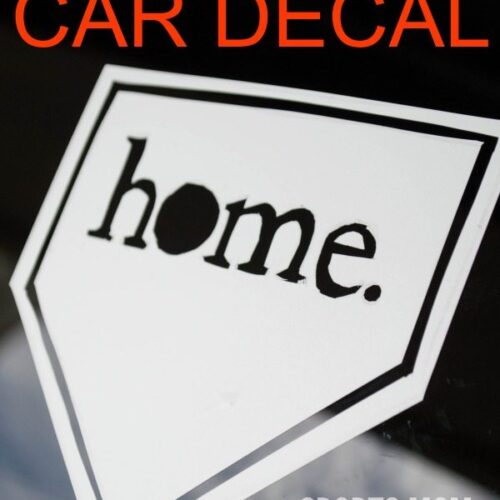
Car decals are a great way to show support for something or someone – like the kiddos, of course! – or just sharing important organizations, causes, and the like within your own community.
More times than not you will see cars “sporting” decals that show off their child’s team, school, or jersey number. If you’re a mom or dad feeling a bit envious of those stickers, we’ve got you covered!
There are so many resources that offer custom stickers that you can have made but why spend the money on something you can make yourself in less than 15 minutes for a few bucks?
What You’ll Need
- Vinyl sheetor letters (depending on your preference),
- X-ACTO knife
- Personal design
- Pencil
- Painter’s tape
- Transfer tape
Step-By-Step Instructions
Simple Word Decal
One:

The easiest and QUICKEST way to add words to your car is using the pre-cut letters. Just take a piece of painter’s tape (or transfer tape) and place the letters face down so the sticky side is up. REMEMBER to spell the words backwards!!
Two:

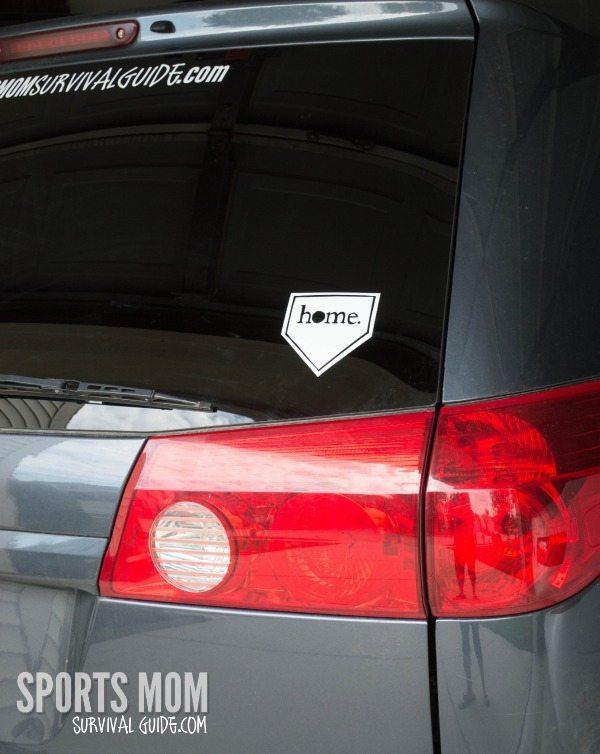
To adhere the letters to the windows start with a clean surface, then carefully transfer the image. Use the edge of a credit card to make sure there are no bubbles and the vinyl is fully adhered to the glass.
Three:

Carefully remove the tape by pulling it up at a 45 degree angle.

If you want to get a little fancier, you can design your own image. Just make sure it’s not too complicated!
Personal Design Decal

One:
Print out the image on regular paper, then cover the back of the image in pencil lead (scribble!). Lay the image with the lead area down onto the vinyl, then trace the image. It should transfer the image over
Two:
Carefully trace the image out using the knife. Make sure to do this over cardboard or something you can’t damage.
Three:
Remove all the areas that you cut out. (I removed the word “home” and a portion around the diamond.) Then use the same method as the letters to transfer it onto the glass.


Pretty creative. I would probably want to use a stencil for a more smooth, consistent font, but this is a great idea. I’ve been wanting to make custom graphics for my car, so I know what I’ll be trying this weekend 🙂 Thanks for sharing.
http://www.vitalsignsak.com
This is really cute, thanks for sharing! I like the end result. I play soccer at the college, so I’d probably use this to put a soccer pall decal on my windows 🙂 It looks much easier than printing a sticker.
Pretty car decals. Very simple and easy. I already had a window decal on my car, but couldn’t resist to try the above awesome ideas. 🙂
I love a lot of these tips and pictures! I am wanting to design my own decal and am thinking of ways to be creative. Like you mention though, it is important not to make it too complicated either. These gave me good ideas to think about! Thank so much.